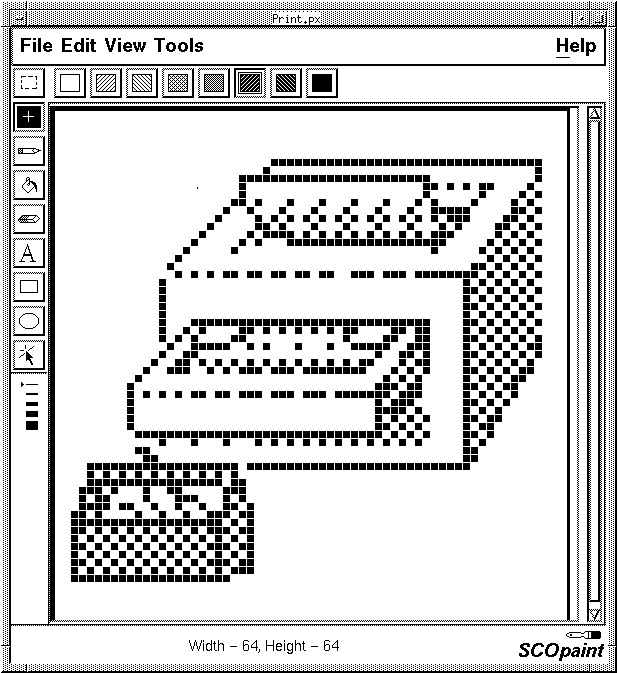
Choose any existing Desktop icon from one of the toolsheds, or by opening the bitmaps directory in the Desktop tree.
This opens the Paint accessory with the icon you selected displayed, as shown below. If you see the following message, click on Yes:
   . . . does not seem to be a pixmap file.
   Do you want to edit the icon picture?
NOTE: To edit color icons with the Paint accessory, you must work on a color monitor with a server that supports up to 256 colors.

We recommend you use the Paint accessory
(located in the Desktop Accessories window) to create your icon.
Although you may use any
icon editor or graphics program that can save to a file in
either
XPM2 (Version 2.8)
or
XPM3 (Version 4.3)
pixmap format, only pixmaps created with
the Paint accessory can use the transparent ``color''
needed to create borderless icons.
Instructions for using the Paint accessory are available
online through Help.
This technique ensures that your pixmap will be based on a large pixel grid, and that it uses appropriate colors.
The Desktop can be run on servers that support as few as 16 colors.
Colors are identified by their hexadecimal values at the
beginning of a pixmap file (and can be viewed with a text editor).
To ensure that your icon will look good even when displayed by 16-color
servers, use the same colors as other Desktop icons do:
R G B
icon color 1: # FFFF FFFF 0000 (Yellow)
icon color 2: # FFFF 0000 0000 (Red)
icon color 3: # 0000 0000 FFFF (Blue)
icon color 4: # 0000 AAAA 0000 (Green)
icon color 5: # 8207 8207 8207 (Dark Grey)
icon color 6: # C30B C30B C30B (Light Grey)
black
white
transparent
When you use one of the Desktop icons as a starting point, these colors are already selected for you.
Blend additional colors by stippling these together in various combinations. If you want to adapt an icon you have created elsewhere, use the Paint accessory's Grab Color feature to capture colors from a Desktop icon and transfer them to your icon.
The transparent ``color'' lets the background color
of the Desktop (or directory window) show through, so you can
create borderless icons.
Generally, an icon can be more readily
picked out of a group of distinctly shaped icons than it can from
a group of icons with identical rectangular borders.
Do not include the icon label in the pixmap. The label is defined by the name of the icon object directory.
Save the edited image in a pixmap file named picture.px.
Note that if you have an existing icon that you had previously created
in black-and-white bitmap format, you may use it,
as long as you rename the bitmap file picture.px.
Your icon will be seen on a variety of displays. View your icon on different displays to verify that it is legible in various resolutions and on grayscale displays. To get the best look on monochrome displays, use the Paint accessory to explicitly map each color you use to black or white. Refer to the scopaint(XC) manual page for more information.